Events & Incident Management
Events are the heart of your status page communication. This guide covers how to manage Incidents, Maintenance, and Post-Mortems (RCA).
1. Event Views
Manage your events using three powerful views:
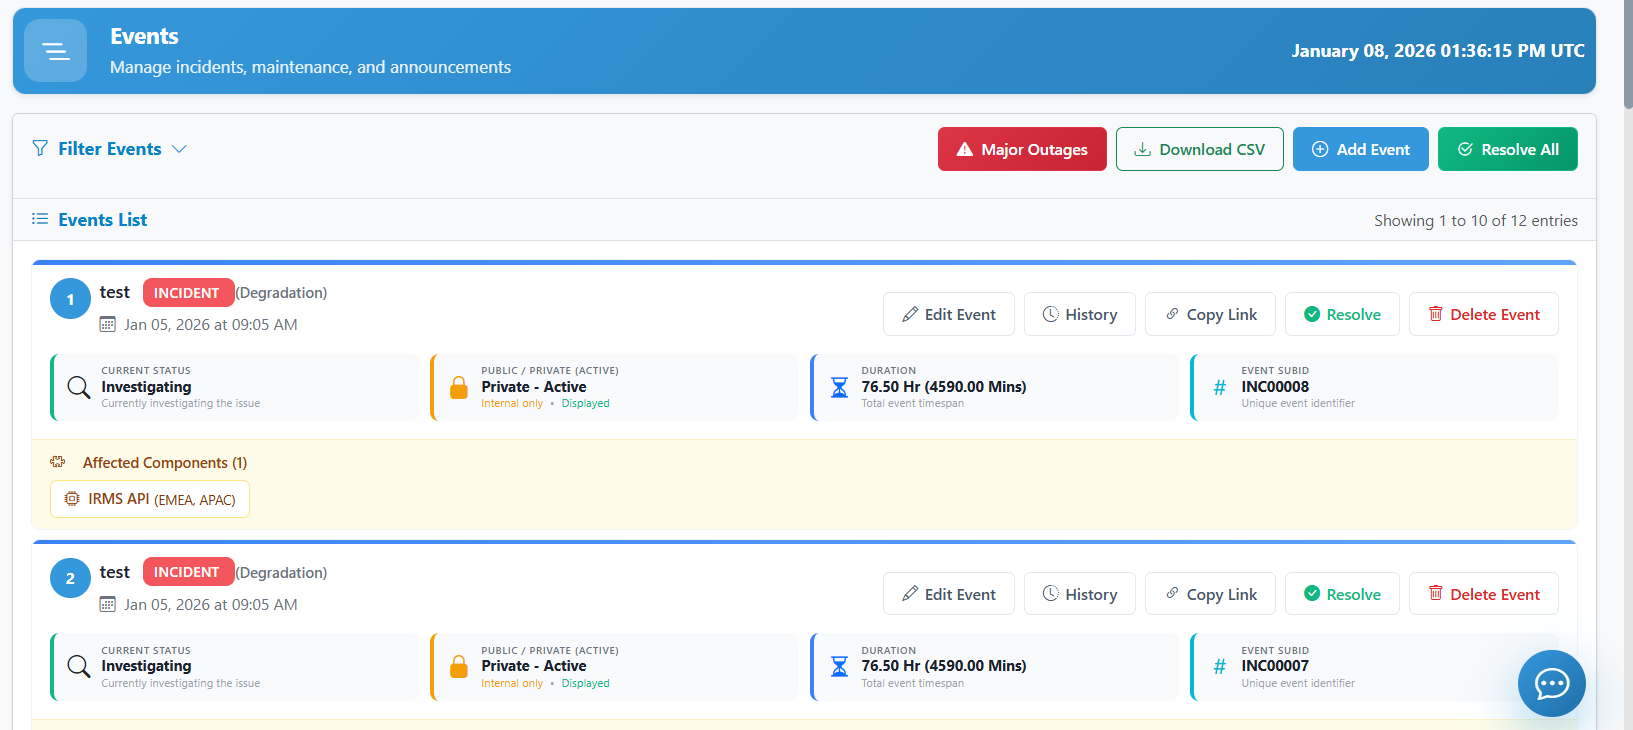
List View
The standard tabular view for managing all incidents and maintenance events.
Board View
 A Kanban-style view to visualize events by their current status.
- Update Status: Simply drag and drop an incident card from one column to another (e.g., from Investigating to Identified) to instantly update its status.
- Card Actions: Each card features a 3-dot menu allowing you to Edit, Copy, and view History.
Calendar View
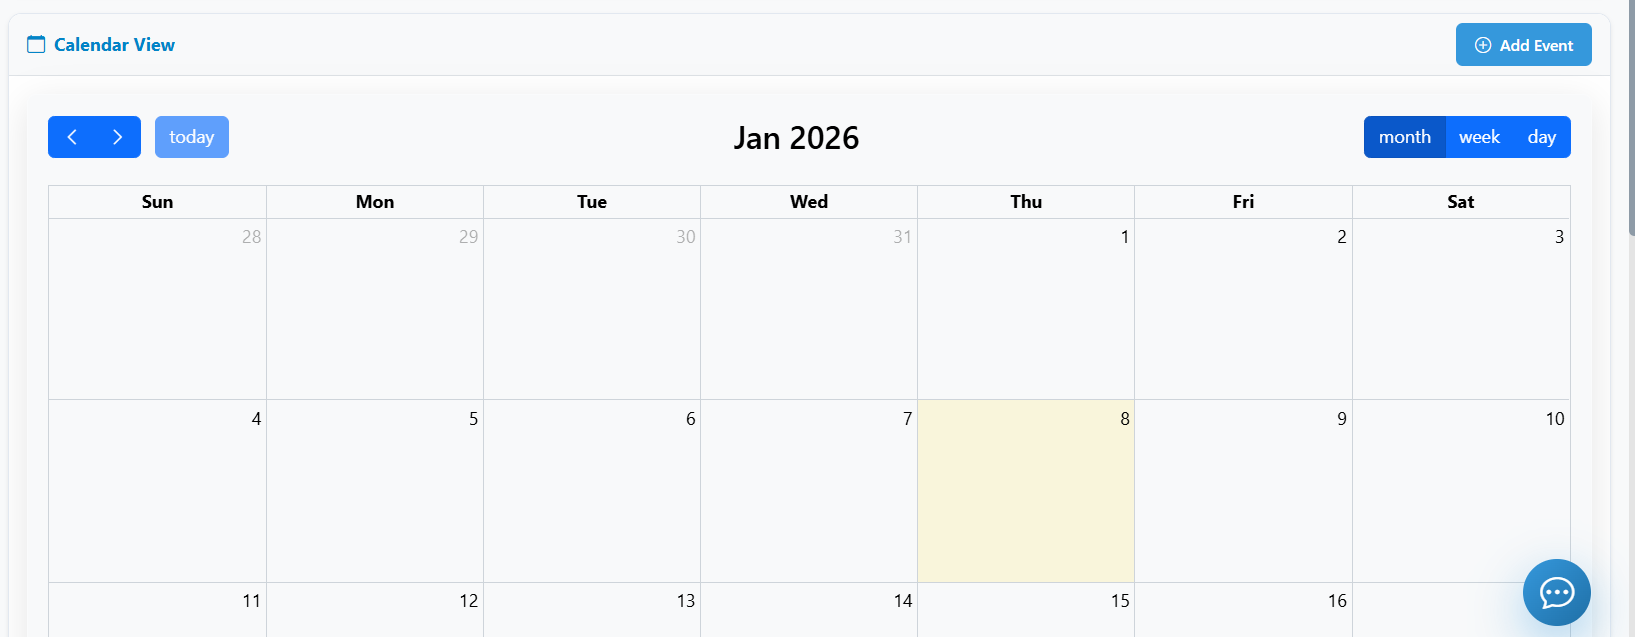 A monthly or weekly view, perfect for scheduling and visualizing upcoming maintenance windows.
- View/Edit: Click on any event block to view its summary or open the edit modal.
- Navigation: Use the calendar controls to switch between Month, Week, and Day views.
2. Creating and Managing Incidents
Incipulse helps you manage the full lifecycle of an incident, from initial investigation to final resolution.
Creating an Incident (Lifecycle Flow)
- Navigate to Events > Incidents.
- Click Create Incident.
- Title: Clear and concise (e.g., "Intermittent API Failures").
- Initial Status:
- Investigating: We are looking into reports of an issue.
- Identified: We've found the cause and are working on a fix.
- Monitoring: Fix applied, watching for stability.
- Resolved: Service is back to normal.
- Impact Levels:
- Operational: Default/Healthy.
- Degraded Performance: Slowness or minor issues.
- Partial Outage: One or more non-critical systems are down.
- Major Outage: Critical systems are completely unavailable.
- Notify Subscribers: Toggle this to send an immediate alert via Email/Slack.
Updating and History
- Post an Update: Use the Update Incident button to add new progress notes without changing the overall status.
- View History: Each incident maintaining a chronological log of all updates provided.
- Update History: If you made a typo or need to add context to a past update, use the Update History (pencil icon) on specific log entries.
Resolving and "Resolve All"
- Resolve: Once the issue is closed, click Resolve.
- Resolve All: If multiple incidents occurred (e.g., a massive network failure), use the Resolve All active incidents button to close all open events in one click.
3. Maintenance: Planned Downtime
Maintenance events inform users of scheduled work that might affect performance.
Single vs Recurring Maintenance
- Single Event: A one-time window (e.g., "Version 2.0 Deployment").
- Recurring Maintenance: For regular cleanup or updates (e.g., "Weekly System Backup").
- You can set recurrence patterns (Daily, Weekly, Monthly).
- View Recurring: Accessible via the Maintenance Calendar or the Recurring list.
Scheduling Flow
- Navigate to Events > Maintenance.
- Click Add Maintenance.
- Set the Start Time and End Time.
- Select the Affected Components. These components will automatically show an "Under Maintenance" status during the scheduled window.
4. Incident Lifecycle & History
The Incident History acts as your record of the event's progression (RCA).
Lifecycle Stages
- Investigating: Initial assessment of the issue.
- Identified: Root cause has been found.
- Monitoring: Fix applied; verifying stability.
- Resolved: Issue is fully resolved.
Managing History
- Update Status: Move the incident through the lifecycle stages as you progress.
- History Log: All status changes and updates are automatically logged in the History tab, serving as a permanent record of the incident.
5. Advanced Actions
Maximize your incident workflow with these tools:
- Download Evidence: Download log files or screenshots attached to the incident (via the Download button).
- Copy Link: Quickly share a direct link to the incident for internal or external communication.
- Sync with Monitors: Link an incident to a specific Uptime Monitor so they move in sync.
- Bulk Operations: Select multiple events to Resolve or Delete simultaneously.
6. Related Guides
- For dashboard creation and management, see the Dashboard Guide.