Component Management
Components are the fundamental building blocks of your status page. They represent individual services, APIs, or infrastructure items that you monitor.
1. Creating Components
To add a new service to your status page:
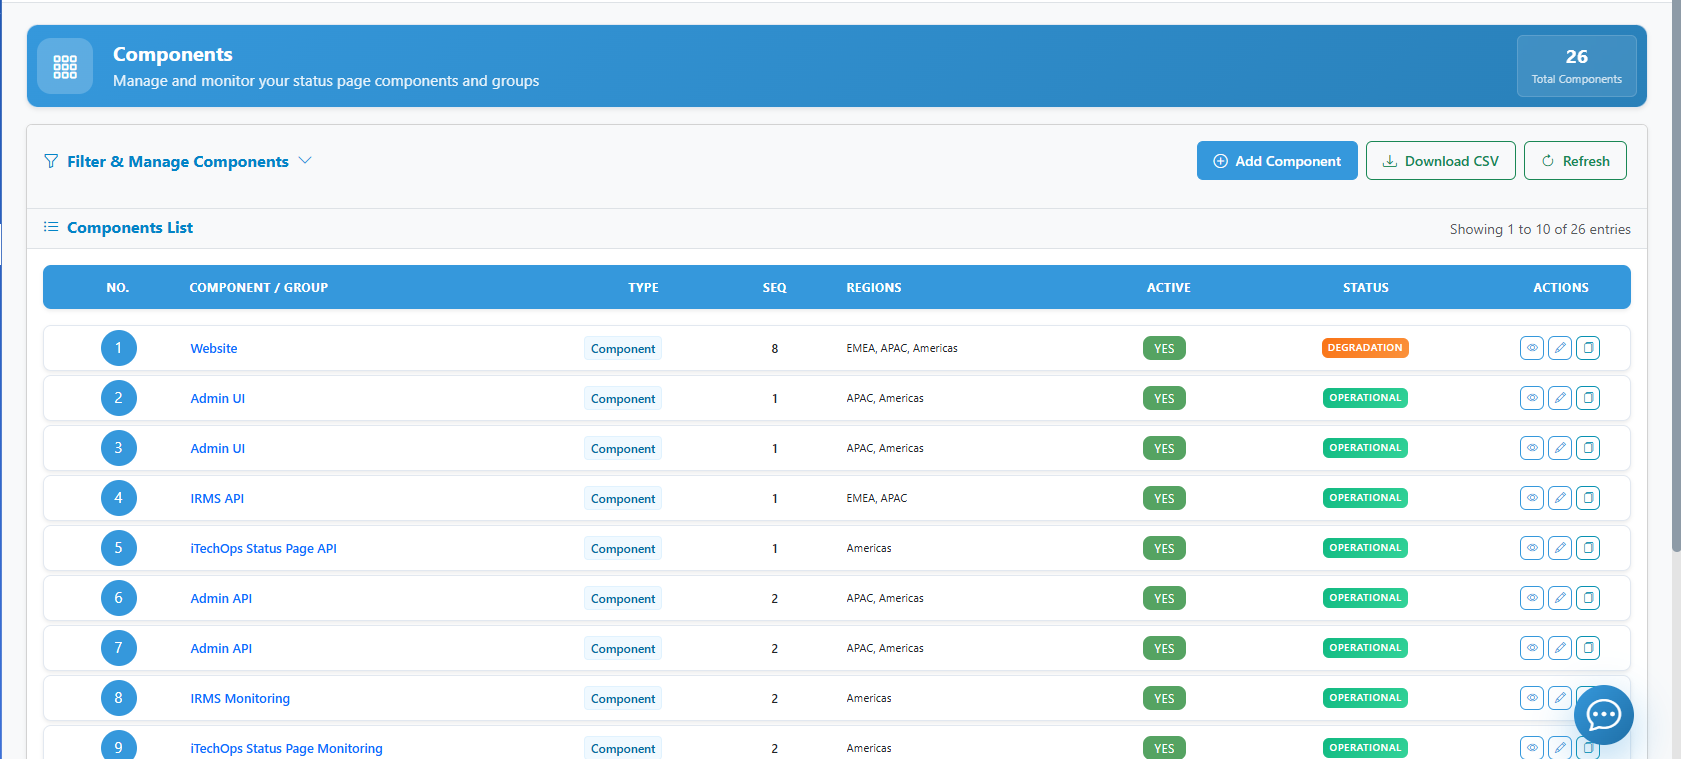
- Navigate to Component Management in the admin sidebar.
- Click Add Component.
- Name: Enter a clear name (e.g., "Main API", "US-East Database").
- Description: Briefly describe what this component does.
- Visibility: Choose whether this component is visible to the public or only to administrators.
- Click Save.
2. Organizing with Groups and Zones
As your infrastructure grows, you can organize components into logical or geographic hierarchies.
Component Groups
Groups allow you to bundle related services together (e.g., "Core Services" or "Third-Party Integrations").
- To Create a Group: Click Add Group, name it, and save.
- To Nest Components: Drag existing components into the group folder.
- Show/Hide: You can choose to collapse groups on the public status page to reduce clutter.
Regions & Zones
For distributed applications, use Regions and Zones to indicate geographic availability.
- Regions: High-level geographic areas (e.g., "North America", "Europe").
- Zones: Specific data centers or availability zones within a region (e.g., "US-East-1", "EU-West-2").
- Assignment: When editing a component, you can assign it to a specific Region and Zone to provide granular status updates to local users.
3. Managing Component Status
The status of a component tells your users whether the service is healthy or experiencing issues.
Manual Status Overrides
You can manually change the status of any component at any time:
- Locate the component in the list.
- Select a new status from the dropdown:
- Operational: Service is running perfectly.
- Degraded Performance: Service is up, but latency is high or features are limited.
- Partial Outage: Some parts of the service are down.
- Major Outage: The service is completely unavailable.
- Under Maintenance: The service is undergoing scheduled work.
- Provide a brief description of the change.
Automatic Status Updates
If you have Uptime Monitors configured, the component status can be updated automatically based on health checks. See the Automation & Incident Rules guide for setup details.
4. Deleting Components
To remove a component:
- Click the Delete (trash icon) next to the component.
- Confirm the action. Warning: This will remove the component and its uptime history from all status pages.